An unresponsive Solenoid Valve often fails to operate as intended, inhibiting further actuation. It may no longer direct or regulate compressed air to downstream processes. Start by checking the power supply and listening for an audible click. Common issues include coil damage, electrical faults, or air supply line problems. Systematically diagnose electrical issues, mechanical obstructions, and pressure problems. Understanding "How does a solenoid valve work principle explained" empowers you to identify the root cause. Learn when to repair specific components or replace the entire unit for optimal performance, ensuring a robust industrial valve solution. This applies whether it is a 2-way solenoid valve, a hydraulic solenoid valve, or even a pilot operated solenoid valve.
Key Takeaways
- Always check the power supply first. Make sure the solenoid valve gets enough electricity.
- Listen for a ‘click’ sound. This sound means the valve is working inside.
- Look for dirt or damage. Clean the valve and check for broken parts like the coil or spring.
- Check the system pressure. The valve needs the right pressure to work well.
- Decide if you should fix or replace the valve. Sometimes, buying a new one is easier and cheaper.
Initial Checks for a Non-Responsive Solenoid Valve
When a Solenoid Valve fails to respond, a systematic approach to troubleshooting saves time and effort. Begin with the most straightforward checks. These initial steps often reveal simple issues, allowing for quick resolutions. Empower yourself by understanding these fundamental diagnostic procedures.
Verify Electrical Power to the Solenoid Valve
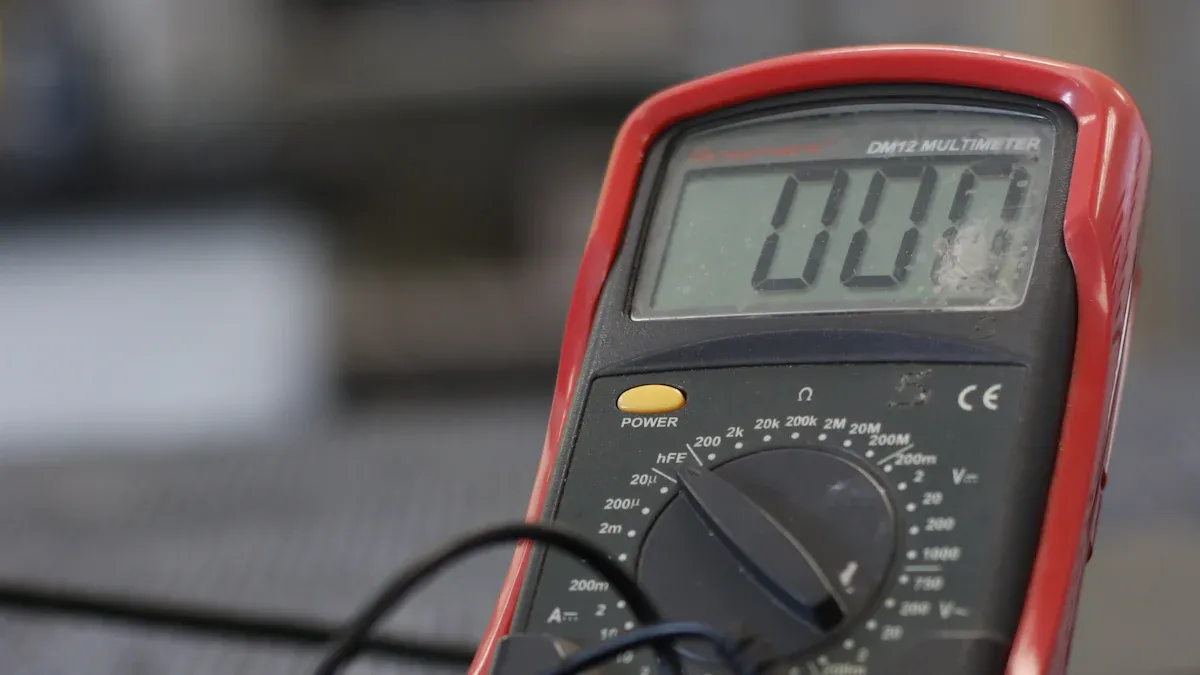
The first step involves confirming that the Solenoid Valve receives adequate electrical power. Without proper voltage, the valve cannot actuate. Use a multimeter to measure the voltage at the coil terminals. Compare this reading to the manufacturer’s specifications. A lack of voltage indicates a problem upstream in the electrical circuit, such as a tripped breaker or a blown fuse. Ensuring a consistent power supply is crucial for reliable operation.
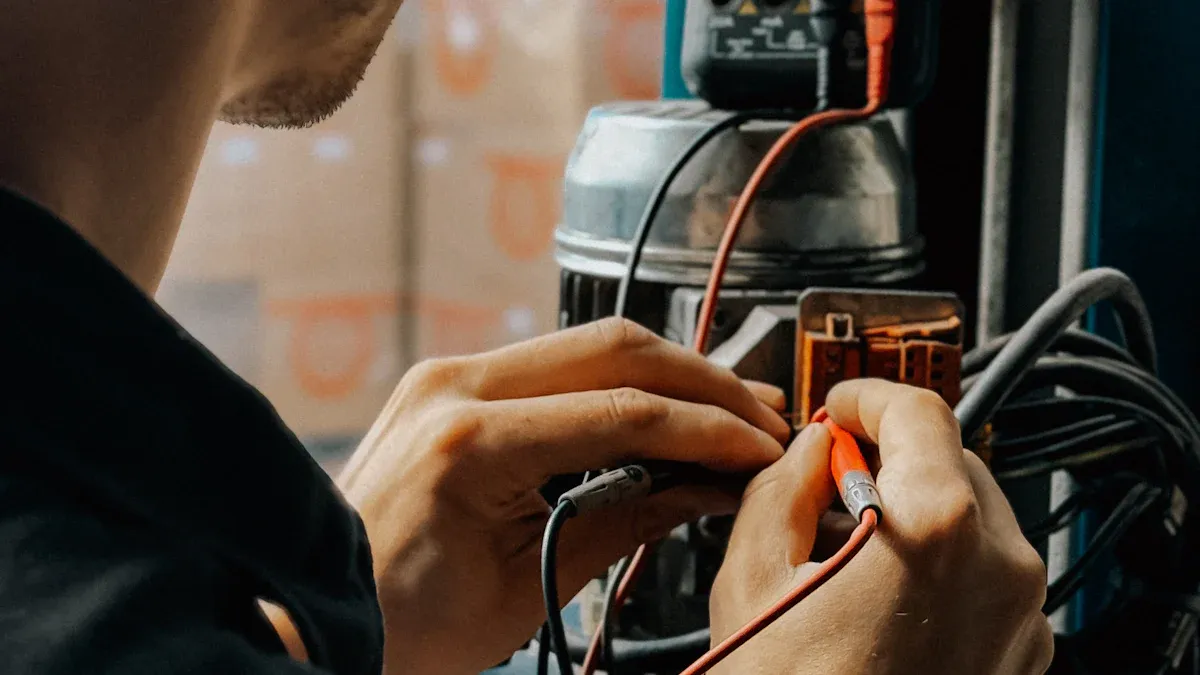
Confirm Proper Wiring Connections for the Solenoid Valve
Loose or corroded wiring connections frequently cause operational failures. Carefully inspect all wires leading to and from the Solenoid Valve. Look for any signs of damage, fraying, or improper seating. Tighten any loose connections. Clean any corrosion found on terminals or connectors. Correct wiring ensures the electrical signal reaches the coil effectively, allowing the valve to function as designed. A secure connection is a foundation for dependable performance.
Listen for the Solenoid Valve Click
A healthy Solenoid Valve typically produces an audible "click" when it energizes. This sound indicates the plunger is moving, opening or closing the valve. If you do not hear this click when power applies, it suggests an issue with the coil or the plunger mechanism. The absence of a click, combined with confirmed power, points towards an internal electrical or mechanical problem within the valve itself. This simple auditory check provides immediate insight into the valve’s internal state.
Diagnosing Solenoid Valve Coil Issues
When a Solenoid Valve remains unresponsive, the coil often becomes the primary suspect. This small but mighty component creates the magnetic field that actuates the valve. Understanding how to diagnose coil issues empowers you to pinpoint problems and restore functionality. You can approach these checks with confidence, knowing each step brings you closer to a solution.
Test Solenoid Valve Coil Voltage
You must confirm the coil receives the correct voltage. Use a multimeter to measure the voltage directly at the coil’s terminals. Compare this reading against the voltage specified by the manufacturer. A reading that deviates significantly from the required voltage indicates a power supply issue, not necessarily a faulty coil. Perhaps a fuse has blown, or a wire has come loose upstream. Correcting the voltage ensures the coil has the energy it needs to perform its vital task.
Measure Solenoid Valve Coil Resistance
Measuring the coil’s resistance provides crucial insights into its internal health. Disconnect power to the valve before performing this test. Use a multimeter set to measure ohms. Place the probes across the coil’s terminals. An open circuit (infinite resistance) means the coil’s wire has broken, preventing current flow. A very low resistance reading, much lower than specified, suggests a short circuit, which can lead to excessive current and heat. A healthy coil will show a resistance value within the manufacturer’s specified range. This test helps you determine if the coil’s winding remains intact and functional.
Inspect for Burn Marks or Overheating on the Solenoid Valve Coil
Visual inspection offers immediate clues about a coil’s condition. Look closely at the coil for any signs of discoloration, melted plastic, or visible burn marks. These marks are a clear symptom of a faulty coil, indicating that overheating has caused significant damage. Several factors contribute to coil overheating. Incorrect voltage, either too high or too low, can stress the coil beyond its limits. Insufficient airflow around the coil prevents proper heat dissipation. A coil struggling against a stuck plunger also generates excessive heat as it tries to overcome mechanical resistance. Furthermore, leaving the coil energized for too long, especially in continuous duty applications not designed for it, can lead to thermal breakdown. Discovering such damage means the coil has likely failed and requires replacement.
Addressing Mechanical Obstructions in the Solenoid Valve
Sometimes, the problem with an unresponsive valve lies not in its electrical signals but in physical blockages or wear. Mechanical obstructions can prevent the internal components from moving freely, stopping the valve from opening or closing. You can overcome these challenges with careful inspection and a systematic approach.
Check for Dirt and Debris in the Solenoid Valve
Foreign particles like dirt, rust, or manufacturing residue often find their way into the valve’s internal passages. These contaminants can lodge themselves in critical areas, blocking flow or preventing the plunger from seating correctly. A thorough cleaning can often restore full functionality.
Tip: Regular maintenance helps prevent debris buildup.
To effectively clean dirt and debris from internal components, follow these steps:
- Ensure safety by turning off power and relieving system pressure.
- Disassemble the valve by removing the coil, plunger, and spring.
- Use a soft brush and a mild cleaning solution to scrub the valve body, removing residue and grime.
- Employ compressed air to blow out dust and particles from the valve body and orifices.
- Wipe down the plunger and spring with a clean cloth to ensure free movement.
- Inspect seals, O-rings, the plunger, and spring for wear or damage, replacing any compromised parts.
- Reassemble the valve, reattach the coil, and reconnect it to the system.
Inspect for Corrosion in the Solenoid Valve
Corrosion poses a significant threat to valve performance. It can cause components to stick, degrade seals, or even lead to material failure. Different types of corrosion affect various materials, so identifying the specific type helps in prevention and repair.
Common types of corrosion that affect valve materials include:
- Crevice corrosion
- Pitting
- Dezincification
- General corrosion
- Degradation due to aggressive chemicals
Look for discoloration, pitting, or powdery residue on metal surfaces. If you find corrosion, assess its extent. Minor corrosion might be cleanable, but severe damage often necessitates component replacement.
Examine the Solenoid Valve Plunger and Spring
The plunger and spring are vital for the valve’s mechanical operation. The plunger moves to open or close the valve orifice, and the spring returns it to its default position. Inspect these components carefully. Look for any signs of bending, wear, or damage on the plunger. A bent plunger cannot move smoothly within its guide tube. Check the spring for deformation, weakness, or breakage. A weak spring may not provide enough force to return the plunger, causing the Solenoid Valve to stick open or closed. Ensure no foreign material obstructs the plunger’s path. A smooth, unobstructed movement of these parts is essential for reliable valve action.
Resolving Pressure and Flow Problems Affecting the Solenoid Valve
Sometimes, the solution to an unresponsive valve lies in understanding the fluid dynamics of the system. Pressure and flow issues can significantly impact a valve’s ability to operate correctly. By addressing these factors, you can unlock the full potential of your pneumatic or hydraulic system.
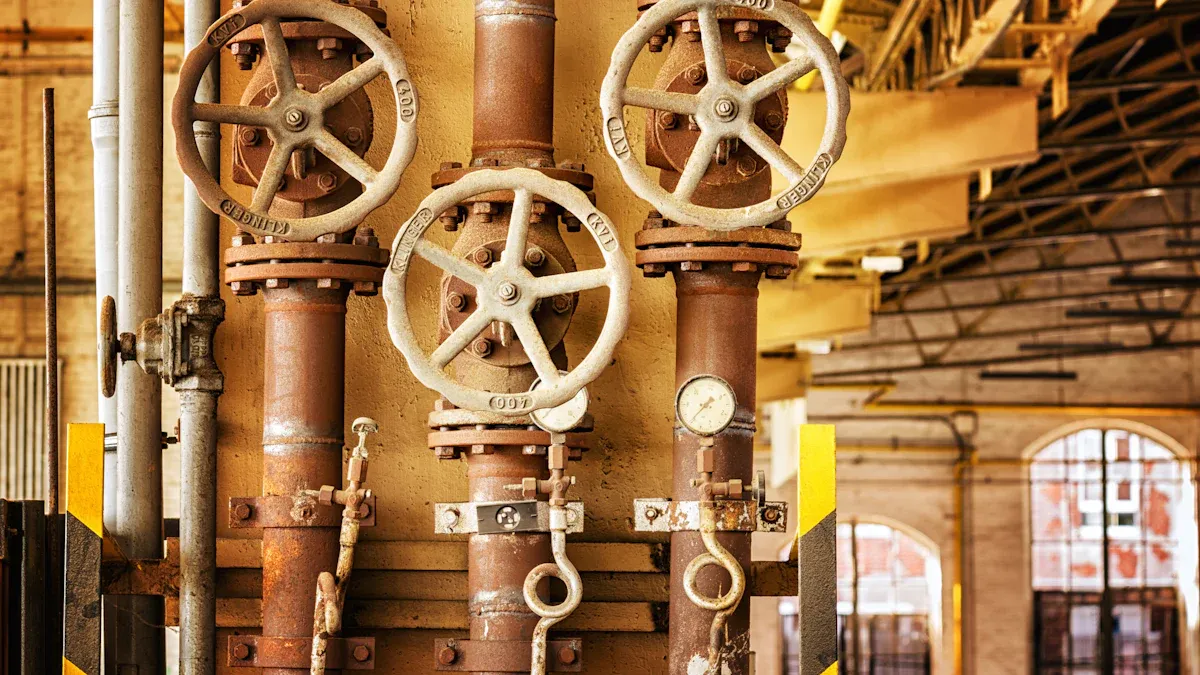
Verify System Pressure for the Solenoid Valve
Proper system pressure is fundamental for any valve to function. Too little pressure might prevent the valve from actuating, while excessive pressure can damage components or cause premature wear. Always check the pressure gauges upstream and downstream of the valve. Compare these readings to the manufacturer’s specifications for your specific valve type. Different valves handle varying pressure ranges. For instance, a direct-acting double-acting pneumatic valve typically operates up to 100 psi, while a pilot-operated double-acting pneumatic valve can manage pressures up to 1000 psi. Ensuring the system pressure falls within the recommended range is a crucial step towards reliable operation.
| Valve Type | Maximum Operating Pressure |
|---|---|
| Direct-acting double acting pneumatic valve | Up to 100 psi |
| Pilot-operated double acting pneumatic valve | Up to 1000 psi |
Check for Backpressure Issues with the Solenoid Valve
Backpressure occurs when pressure builds up on the outlet side of the valve. This can prevent the valve from closing completely or even opening against the opposing force. Investigate downstream components for blockages, restrictions, or improperly sized piping. A clear path for fluid exit is essential for the valve to perform its intended function. Resolving backpressure issues often restores smooth and efficient valve operation.
Ensure Correct Flow Direction for the Solenoid Valve
Many valves are directional. They have a specific inlet and outlet. An arrow on the valve body typically indicates the correct flow direction. Installing the valve backward can lead to malfunction, reduced flow, or even system damage. Always confirm the valve’s orientation matches the system’s flow path. Correct installation ensures the valve can effectively control the fluid, leading to optimal system performance.
When to Replace Solenoid Valve Components or the Entire Unit
Understanding when to repair a component versus replacing the entire unit is crucial for efficient maintenance. This decision impacts both cost and system reliability. You can make informed choices by assessing the damage and considering the long-term benefits.
Replacing a Faulty Solenoid Valve Coil
A faulty coil often causes a non-responsive valve. If testing confirms the coil is the problem, replacing it is often a straightforward and cost-effective solution. Many manufacturers offer replacement coils, allowing you to restore functionality without replacing the entire valve. This approach saves resources and minimizes downtime.
Replacing Worn Solenoid Valve Seals and O-Rings
Seals and O-rings are critical for preventing leaks and maintaining proper pressure. Over time, these components can degrade due to various factors. Torsion can cause O-rings to twist and thin, leading to cracks. Rapid gas decompression might damage them as trapped gas expands suddenly. Overheating makes O-rings brittle, causing cracks. Exposure to light or ozone can create micro-cracks. Improper installation, such as contact with sharp parts, can cut or stretch them. Compression set, where the O-ring permanently deforms, also compromises the seal. Abrasion from friction, chemical degradation, and chemical swelling further contribute to their wear. Replacing these worn seals and O-rings is a common and effective repair.
Deciding on Full Solenoid Valve Replacement
Sometimes, replacing the entire unit is the best course of action. When cost is the primary factor, replacement is often the best choice for a Solenoid Valve. They are generally inexpensive compared to service labor. The time and manpower required to disassemble, replace parts, re-assemble, install, and check performance often outweigh the labor cost of simply installing a new valve.
| Factor | Consider Replacement if… |
|---|---|
| Valve Body | Cracked, heavily corroded, irreparable physical damage |
| Replacement Parts | Unavailable, expensive, or no longer manufactured for your model |
| Your Skill & Tools | The repair seems beyond your skill level or requires specialized tools |
| Application Risk | Involves hazardous fluids, high pressures, or critical safety functions |
| Cost Analysis | Repair cost approaches or exceeds the cost of a new valve |
| Valve Age | Very old, nearing end of expected lifespan, or prone to recurring issues |
For high-end, custom-designed valves, replacement is often recommended due to the complexity of maintaining original function through field repairs. For simple, low-cost valves, replacement is typically the most straightforward and cost-effective option.
A systematic approach to troubleshooting empowers technicians. They meticulously check components like coils for short circuits, inspect wiring for loose connections, and examine the valve core for impurities. This methodical diagnosis ensures effective problem resolution. Regular maintenance, typically every 6 to 12 months, prevents future issues. Visual inspections, functional testing, and leak checks are vital for sustained performance. Making informed decisions about repairing components or replacing the entire unit optimizes performance and cost-effectiveness. This strategic thinking ensures your systems operate reliably.
FAQ
What is the most common reason a Solenoid Valve stops working?
The most common reason involves electrical issues. A faulty coil or incorrect wiring often prevents the valve from actuating. Always check the power supply first. This simple step can quickly reveal the problem.
How often should one perform maintenance on a Solenoid Valve?
Regular maintenance is key to preventing issues. Experts recommend checking Solenoid Valves every 6 to 12 months. This includes visual inspections and functional tests. Proactive care ensures reliable operation.
When should one call a professional for Solenoid Valve repair?
Consider professional help if the problem remains unclear after basic troubleshooting. Complex electrical faults or internal mechanical damage often require specialized tools and expertise. A professional can diagnose and fix intricate issues safely.
Can a Solenoid Valve be repaired, or does it always need replacement?
Many Solenoid Valve issues are repairable. Replacing a faulty coil or worn seals often restores function. However, severe body damage or extensive corrosion usually means replacing the entire unit. Assess the damage carefully.
What causes a Solenoid Valve to hum loudly?
A loud hum often indicates an issue with the coil or plunger. It might suggest insufficient voltage, a stuck plunger, or a damaged coil. Investigate these components to find the source. Resolving the issue ensures quiet, efficient operation.