Solenoid Valve burnout primarily results from excessive heat. Continuous overcurrent, voltage fluctuations, or prolonged energization beyond design limits generate this heat. This leads to insulation breakdown and eventual coil failure, rendering the valve inoperable. Understanding these core issues is crucial for effective solenoid valve troubleshooting. It helps prevent future failures and provides insight into how to fix solenoid valve failures. This knowledge forms the foundation of any comprehensive solenoid valve troubleshooting guide. Identifying the causes of solenoid valve failures is key for reliable industrial operations.
Key Takeaways
- Solenoid valves burn out because of too much heat. This heat damages the wire inside the valve.
- You can tell a solenoid valve is burned out by a bad smell or smoke. The valve will also stop working.
- To stop burnout, use the right voltage and current. Make sure the valve has good airflow and is the correct size for the job.
- Dirt and blockages can stop a solenoid valve from working. Clean the valve often and use filters to keep it clean.
- Choosing the wrong valve for a task can cause it to fail early. Always pick a valve that fits the job and its environment.
Understanding Solenoid Valve Burnout: The Core Issue
The Mechanism of Solenoid Valve Coil Burnout
Solenoid valve coils burn out primarily due to excessive heat. This heat causes the insulation around the coil wires to degrade. Over time, the insulation loses its protective properties. Standards like IEC 60085 or UL 1446 classify insulation types. For example, Class B insulation has a maximum temperature limit of 130°C. When the wire temperature approaches 200°C, it becomes unacceptable for solenoid valve coils. This temperature indicates significant or imminent degradation. Research shows that high temperatures are the main reason for coil insulation failure. Operating a Solenoid Valve in hot environments for long periods speeds up insulation degradation. This makes the coil more vulnerable to stress and leads to failure.
Immediate Signs of a Burned-Out Solenoid Valve
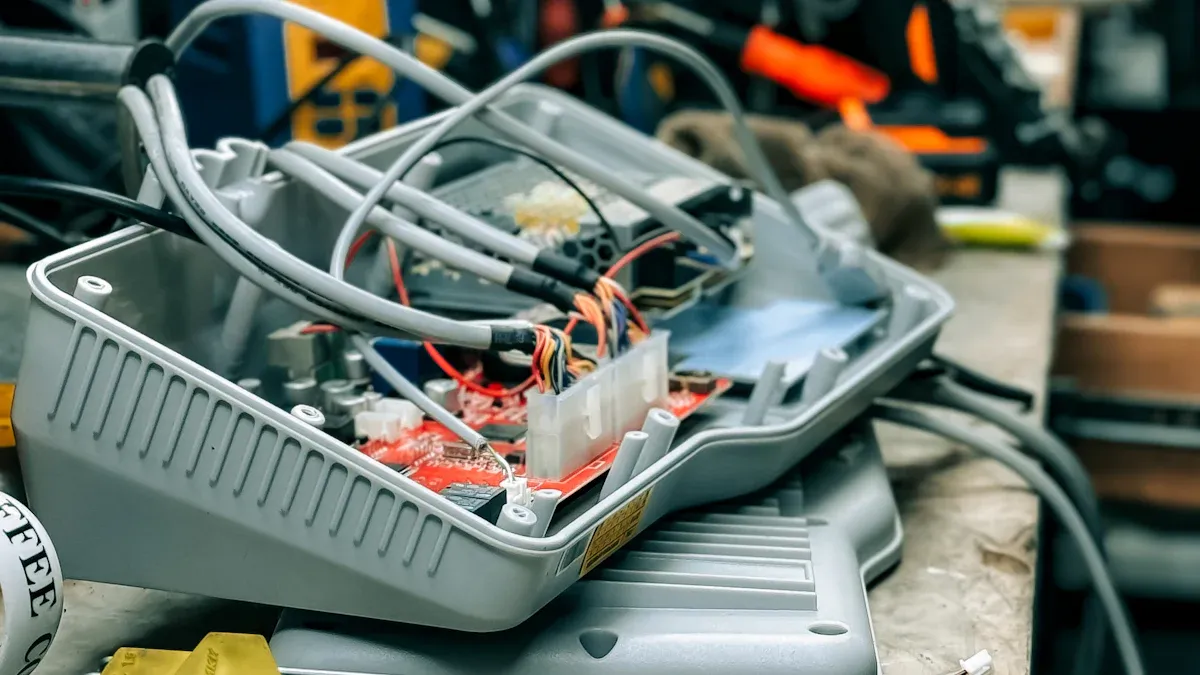
Operators can often spot a burned-out solenoid valve quickly. A strong burning smell is a common indicator. You might also see smoke coming from the coil. Visually, the coil housing may appear discolored or melted. The valve will simply stop working. It will not open or close as commanded. Sometimes, the coil itself looks visibly charred or swollen. A multimeter test will show an open circuit or extremely high resistance in the coil. This confirms the burnout.
Common Solenoid Valve Failure: Overheating and Coil Issues
Causes of Solenoid Valve Overheating
Overheating is a primary reason for solenoid valve failure. Several factors contribute to this problem. One common electrical cause involves the moving iron core. If the core fails to attract normally or moves too slowly, issues like oil stains, impurities, or seal deformation are often responsible. This malfunction decreases the coil’s inductance. The impedance then drops, causing the current to increase excessively. This increased current directly leads to coil heating. Another electrical issue arises from the energy-saving protection module. Some solenoid valve coils include this module to reduce power consumption and cool the coil. A malfunction in this module can directly cause the coil to overheat. Environmental factors also play a role. High ambient temperatures or insufficient ventilation prevent the coil from dissipating heat effectively. Continuous operation beyond the valve’s duty cycle rating also generates excessive heat.
Troubleshooting Overheated Solenoid Valve Coils
Troubleshooting an overheated solenoid valve coil requires a systematic approach. First, operators must ensure the coil’s duty cycle rating matches the application’s requirements. Using a coil designed for intermittent use in a continuous application will cause overheating. Next, verify the power supply voltage. It must correspond to the coil’s specifications. Incorrect voltage, either too high or too low, can lead to excessive current draw and heat generation. Providing adequate ventilation is also crucial. Avoid enclosing the coil in confined spaces where heat can build up. Good airflow helps dissipate heat. Finally, visually inspect the coil. Replace coils that show signs of deteriorated insulation, such as discoloration, cracking, or a burnt smell. These steps help identify and resolve the root causes of overheating, extending the solenoid valve’s lifespan.
Contamination and Blockage in Solenoid Valves
Sources of Contamination Affecting Solenoid Valve Operation
Contamination poses a significant threat to valve operation. Particulate matter, such as dust and debris, frequently enters air quality control systems. This exposure leads to clogging within valve mechanisms. Sediments also cause problems. These sediments come from worn-out valve components. Media abrasion and chemical corrosion cause deterioration over time. Foreign materials also enter piping systems. This often happens during installation and routine maintenance of process valves. Solenoid operators are generally more susceptible to damage from external environmental dirt, dust, and other particles. These contaminants impact valve function and can cause system failures.
Resolving Blockages in Solenoid Valve Systems
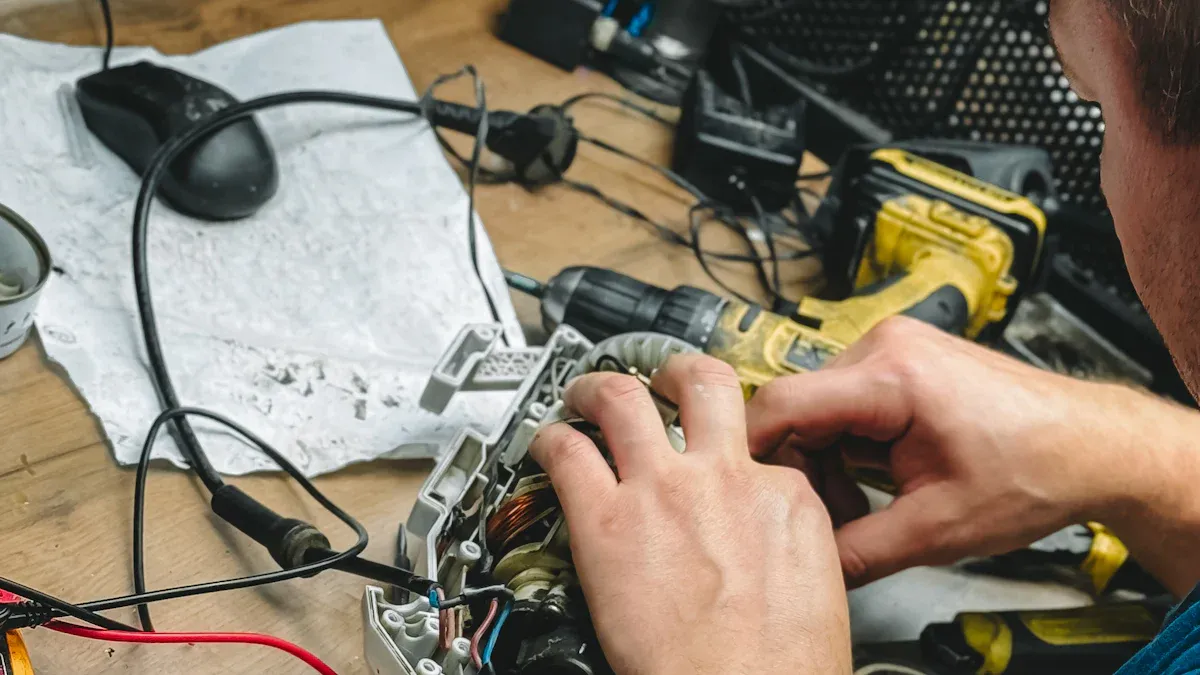
Resolving blockages requires careful steps. First, disconnect the valve from its power supply. Then, disconnect the inlet and outlet connections to remove the valve from the system. Carefully take the valve apart. Remember the location and orientation of each part. Clean each component with a suitable cleaning solution. Avoid harsh chemicals or abrasives. Completely rinse each part with clean water. This ensures no cleaning solution residue remains. Inspect individual parts for damage or wear. Replace those parts that cannot be repaired. Carefully put the valve back together. Ensure correct orientation and proper installation of all seals and o-rings. Reinstall the valve into the system. Ensure correct alignment and appropriate torque for connections. Connect the power supply back to the valve. Test it to ensure correct functionality. Monitor the valve for several days to confirm proper function and absence of leaks.
For cleaning, use specific solutions. A mild detergent (e.g., 10 ml per liter of water) cleans plastic and rubber components like o-rings and diaphragms. Consult the manufacturer for specific ratios. Isopropyl alcohol suits metal components like stainless steel and brass. Apply it with a clean cloth or brush. Blow compressed air through small orifices, such as pilot valve orifices, to remove dust and debris. Always wear safety glasses and gloves. To prevent future issues, inspect seals and O-rings for wear or damage. Replace them as necessary. Clean the valve body to remove debris or buildup. Flush the system with clean fluid to remove particles. Install a filter upstream of the valve to prevent future contamination. Regularly inspect and clean the valve to maintain optimal performance.
Electrical Supply Problems for Solenoid Valves
Incorrect Voltage and Current for Solenoid Valves
Incorrect voltage and current are major causes of solenoid valve failure. Most solenoid valve coils operate within a voltage tolerance of ±10% of their rated value. For example, a 220V AC coil works well between 198V and 242V. A 120V coil with a ±10% range functions with voltages from 108V to 132V. Operating at the lower end of this range is acceptable. However, it might reduce the coil’s magnetic force. This can slow down the valve’s action. Manufacturers generally advise against exceeding the rated voltage. A brief spike of 50–100% higher voltage can be tolerated for about one second. Extended overvoltage exposure causes rapid coil failure. This happens because of overheating. Specific information about current tolerances for common industrial solenoid valves is not readily available.
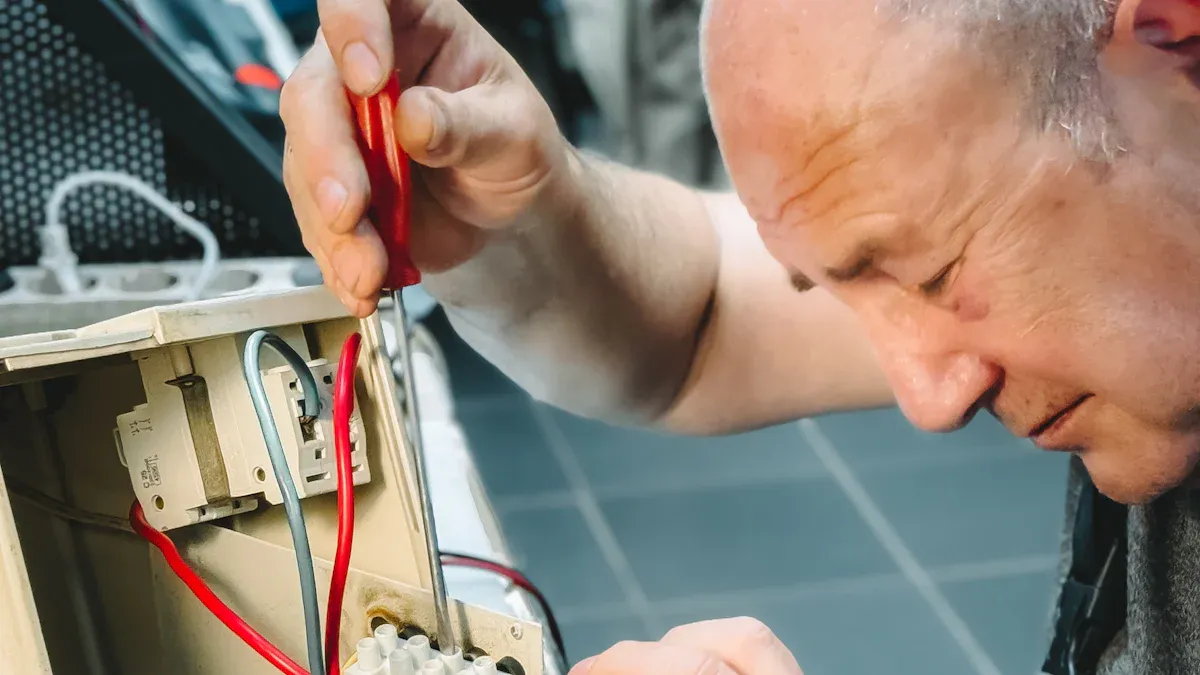
Diagnosing Power Supply Issues for Solenoid Valves
Diagnosing power supply issues for solenoid valves requires careful checks. First, use a multimeter to measure the voltage at the coil terminals. Compare this reading to the valve’s specified voltage. If the voltage is outside the ±10% tolerance, investigate the power source. Check circuit breakers, fuses, and wiring for faults. Look for loose connections or damaged insulation. These can cause voltage drops or surges. Next, inspect the current draw. An abnormally high current often indicates a short circuit within the coil. A very low or zero current suggests an open circuit. This means the coil is broken. Ensure the power supply unit itself functions correctly. Sometimes, the power supply unit fails to deliver stable voltage or current. This directly impacts the solenoid valve’s performance and lifespan.
Solenoid Coil Failures Beyond Burnout
Short Circuits and Open Circuits in Solenoid Valve Coils
Coils can fail in ways other than just burning out. A short circuit happens when the wire insulation breaks down. This causes two or more wires to touch directly. The electrical resistance drops significantly. This allows too much current to flow. The coil then generates excessive heat, which can lead to burnout or immediate failure. Physical damage or moisture ingress often causes insulation breakdown. An open circuit occurs when a coil wire breaks completely. This stops all current flow through the coil. The coil cannot create a magnetic field. Therefore, the valve will not operate. Manufacturing defects or mechanical stress can cause open circuits. Both short and open circuits prevent the coil from functioning correctly.
Testing Solenoid Valve Coil Resistance and Continuity
Operators can test a coil for short or open circuits using a multimeter. First, disconnect all power to the coil. Set the multimeter to measure resistance (ohms). Touch the multimeter probes to the coil’s electrical terminals. A healthy coil shows a specific resistance value. This value is usually listed in the manufacturer’s specifications. If the multimeter shows an "OL" (over limit) or infinite resistance, the coil has an open circuit. This means the wire is broken. If the multimeter shows a very low resistance, close to zero ohms, the coil has a short circuit. This indicates wires are touching. Comparing the measured resistance to the specified value helps diagnose the coil’s condition accurately. This simple test quickly identifies common coil failures.
Mechanical Wear and Tear in Solenoid Valves
Worn Seals and Internal Components of Solenoid Valves
Internal components in valves experience significant wear over time. Plungers often move with high friction. Dirt, damage, or bending causes this friction. Dirt also collects on the membrane. Polluted valve seats or the valve itself become problematic. Corrosion, or rust, affects many components. An armature tube can become damaged or bent. Sometimes, components go missing after disassembly or assembly. Dynamic seals in spool-style valves dry out. This happens without proper lubrication and maintenance. Changing operating conditions and fluid contaminants worsen this issue. Valves with a wet armature design allow moisture and impurities into the core tube. This causes sticking. Residual magnetic force in wet armature valves makes them stick open when de-energized. This occurs due to insufficient internal power. Pilot-operated valves have small vent ports in their pilot mechanism. These ports allow internal moisture. This leads to contamination and corrosion. The valve then sticks open when de-energized.
Addressing Mechanical Degradation in Solenoid Valves
Addressing mechanical degradation requires specific actions. If leaks happen due to worn or damaged internal seals, a full replacement of the valve is often the best solution. Always use the correct thread sealant. This sealant must be compatible with the fluid or gas in the system. This prevents leaks and system contamination. Ensure proper application of thread sealant. For example, wrap PTFE tape clockwise on male threads. This avoids bunching or unraveling. Clean pipe threads thoroughly before installing a new valve. This ensures a leak-proof seal. Avoid over-tightening the valve. Over-tightening damages threads or cracks the valve body. Follow manufacturer’s guidelines for torque. Select a new valve where the body and seal materials are suitable. Materials like NBR, EPDM, or Viton must match the operating conditions and media.
Incorrect Application and Sizing of Solenoid Valves
Mismatched Solenoid Valve Specifications
Choosing the wrong valve for an application often leads to premature failure. Engineers must consider several critical parameters when selecting a valve. The fluid type and its compatibility with valve body materials and seals are paramount. For example, NBR suits air, water, and oil, while FKM handles corrosive chemicals. Pressure and flow requirements, including the operating pressure range and flow capacity (Cv/Kv values), must match the system’s needs. Incorrect sizing causes significant problems. An undersized valve leads to insufficient flow, increased pump head pressure, and potential cavitation. This results in vibration, turbulence, and wear on valve seats. Conversely, an oversized Solenoid Valve can cause poor controllability, constant control loop hunting, and premature wear. It also leads to erosion due to high flow speeds and noise generation.
Ensuring Proper Solenoid Valve Selection and Installation
Correct selection and installation prevent many issues. Always verify the coil’s operating voltage and frequency match the power supply. Before installation, depressurize and cool the circuit. Flush pipes to remove dirt and install a pipe filter on the inlet side. Securely fasten pipes on both sides of the valve. Observe the flow direction indicated by an arrow on the valve body. Install the valve with the coil facing upward to prevent sediment from restricting armature movement. When tightening connections, use a counterbalance (a spanner on both the pipe and valve body) to prevent stress. Never power the coil when unmounted, as this can cause burnout. Read the manufacturer’s instructions carefully before installation, start-up, and maintenance. Verify operating conditions like pressure, temperature, and fluid compatibility against the product label. Ensure the voltage supply matches the coil’s allowed voltage.
External Factors Affecting Solenoid Valve Performance
Environmental Conditions and Solenoid Valve Longevity
Environmental conditions significantly influence a valve’s lifespan. Ideal operating conditions for these devices vary. Manufacturers provide temperature specifications for both the media and the ambient environment. Users must adhere to these guidelines. Extremely high or low temperatures can impact valve function. For example, Valcor miniature valves typically operate between -20 and 70 degrees Celsius, non-condensing. However, other factors can cause damage within this range or allow successful operation outside it. Expert consultation helps determine the appropriate product based on temperature range and other ambient factors. Selecting a valve that matches the environmental conditions ensures its longevity and reliable performance.
Impact of Process Media on Solenoid Valve Reliability
The process media flowing through a valve directly affects its reliability. Incompatible valve materials lead to premature deterioration, material breakdown, and leakage. A mismatched material can corrode within weeks. Seals can swell and leak, potentially causing hazardous spills or unplanned downtime. For instance, brass valves quickly degrade in most acids. Steel can experience crevice corrosion and pitting, especially with high chloride concentrations. It also suffers from scaling and mineral deposition in water-based applications. SS316 handles many solvents but may fail with certain chlorides. High temperatures can quickly degrade seals.
Corrosive, reactive, and chemically aggressive media degrade valve materials if they are not constructed to resist them. Extreme temperatures increase media volatility and affect the integrity of valve materials, wearing on valve seals and gaskets. Aggressive media valves require specially designed seals and gaskets. These components tolerate abrasive materials and maintain a tight seal to prevent leaks. For aggressive chemicals, specific materials offer better resistance. Viton works well for hydrocarbons. Perfluoroelastomer is ideal for corrosive media. PTFE suits hot water, steam, and cryogenic applications like liquid carbon dioxide. Fluoroelastomers offer excellent chemical resistance to oils, fuels, and chlorinated solvents. PTFE provides supreme chemical resistance. For valve bodies, 316 Stainless Steel offers excellent corrosion resistance. For seals, PVDF resists chlorine and bromine. Aflas® resists steam and petroleum oils. FKM (Viton®) resists heat, acids, and oils. FF-KM (Perfluoroelastomer) resists nearly all solvents and chemicals. FEP is chemically inert and very tough.
Proactive maintenance, correct application matching, and diligent troubleshooting are crucial for preventing solenoid valve burnout. These steps ensure reliable operation. Regular inspections, guided by a comprehensive checklist, significantly extend valve lifespan. This includes thorough external and internal component examinations. Embracing advanced diagnostics, such as predictive maintenance strategies, offers significant cost savings. It reduces maintenance costs by up to 30% and eliminates up to 70% of breakdowns. This approach will be key to maintaining efficient systems in 2025 and beyond.
FAQ
What is the main reason a solenoid valve burns out?
A solenoid valve burns out mostly due to too much heat. This heat comes from continuous overcurrent, voltage problems, or staying on too long. The heat damages the wire insulation. This causes the coil to fail.
How can someone tell if a solenoid valve has burned out?
Operators can often smell burning or see smoke. The valve body might look discolored or melted. The valve will not work. A multimeter test shows an open circuit or very high resistance in the coil.
What steps prevent solenoid valve burnout?
Prevent burnout by ensuring correct voltage and current. Match the valve’s duty cycle to the application. Provide good ventilation. Regularly inspect and clean the valve. Use the right valve for the job.
Why is correct sizing important for solenoid valves?
Correct sizing prevents many problems. An undersized valve causes low flow and high pressure. An oversized valve leads to poor control and faster wear. Matching the valve to system needs ensures reliable operation.